If you want to bake, you do not have to feel limited by the fact that you do not have a kneading machine. Never let equipment stop you from doing what you really want to do. You can always find a way to work around it.
A stand mixer can work just as well when it comes to kneading. You can bake occasionally as long as you have the mixer.
I have been using my mixer to knead the dough for a couple of years and I have never been disappointed.

Stand mixers are not so expensive. You can also easily get them at thrift shops and yard sales and save yourself some coins.
I will be the first to admit that the thought of hand kneading has, more than once, put me off making bread. I believe I am not alone in this.
I tried looking for alternatives and discovered I could, in fact, use my stand mixer to knead.
The mixer does all the hard work and the process is not as messy as when you use your hands to knead.

Kneading in a stand mixer requires a bit more care and attention. You have to keep turning the machine on and off because the dough and the motor both need to rest.
You also have to keep checking the consistency of the dough. When the dough is ready, you will have to remove it from the mixer and cover it in a bowl for the rising process to take place.
Most stand mixers are not really designed to knead day after day. Using it to knead often may be too hard on its motor. Dough is way stiffer than things like cake batter. You also have to knead it for way longer. Kneading in your stand mixer too much may wear out its motor.
So if you are not a huge fan of kneading by hand, I would advise you to only knead in your stand mixer occasionally.
You have to keep a few things in mind when kneading with a stand mixer in order to get the very best results. Here is how I knead with my mixer. So pull out your stand mixer and get ready to knead.
Click Here To Find The Best Stand Mixers To Use.
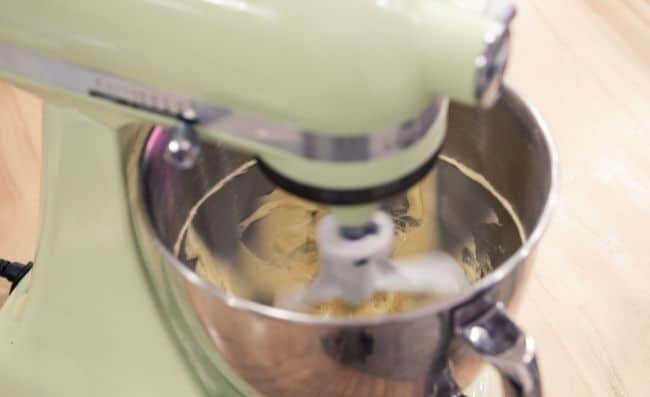
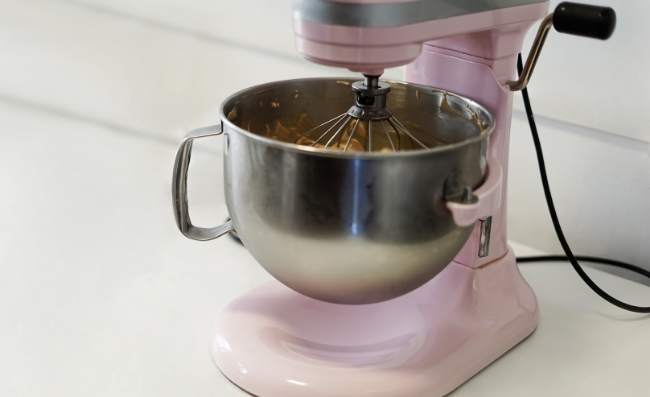
Mixing the ingredients in the mixer bowl
This is the very first step. You have to place all the necessary ingredients in the mixer bowl. There is no need to pay attention to the order in which they go in, just place everything in the bowl.
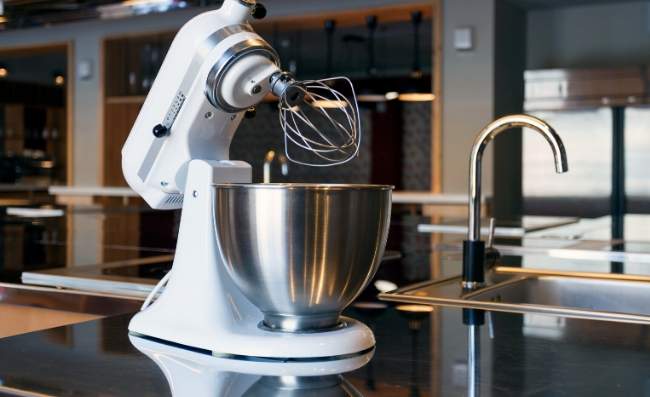
Attaching the dough hook and setting the mixer to its lowest setting
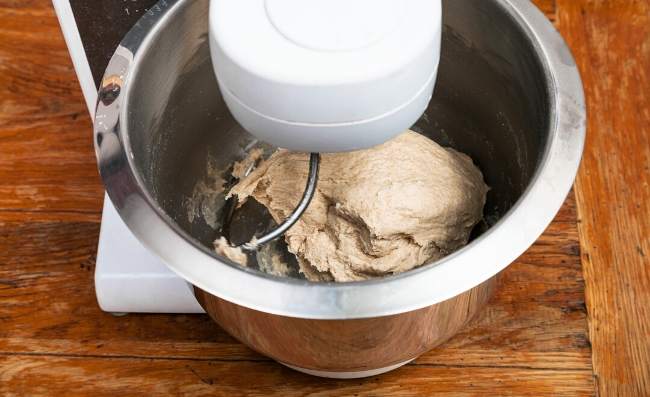
Once all your ingredients are in the bowl, simply attach the dough hook. Set your stand mixer to its lowest setting and let it mix for a minute or two. Turn the mixer off and check whether the dough is too dry or too wet.
By this time, the dough should have formed a ball. The sides of the mixer bowl should also be clear. If the batter is still sticking to the sides of the bowl, the dough is still too wet. Add a teaspoon of flour and start the mixer again. Only add one teaspoon at a time so that your dough does not become too dry.
Your dough is definitely too dry if there are dry crumbly bits in the mixer bowl and a ball has not formed. Add a teaspoon of water to it and start the mixer again. Only add a teaspoon at a time to prevent your dough from getting too wet.
Check out: 15 Creative Stand Mixer Uses You Need To Know
How long to knead in the stand mixer

Once the dough has just the right level of moisture (not too dry and not too wet), it is time to knead. Kneading should always be done in the lowest setting and it always takes a bit more of your time.
You should probably prepare yourself psychologically that you are going to be in the kitchen for some time. Never rush the process because if you do you will not get the best results. Set a timer and stick to it.
Turn on your mixer and let it knead the dough (in the lowest setting) for five minutes. Turn it off and let your stand mixer rest for five minutes. The top of your mixer may feel warmer than usual, do not panic, it is normal. It is always a sign that its motor needs a break.
After the stand mixer has rested for five minutes, turn it on again and let it knead for another five minutes on low. After five minutes, turn it off. You can now start checking whether the dough is ready.
How Long to Knead Bread dough in the KitchenAid Mixer
How do I know when the dough is ready?

I usually check for ‘windows’ to see whether my dough has been kneaded adequately. Windows are areas in the dough that are usually translucent when the dough is stretched out.
To check for windows, simply remove a small piece of dough from the bowl and try stretching it out. If the dough easily stretches to a thin layer, that is a window and it is proof that the dough has kneaded enough.
However, if the dough tears immediately, it means that the gluten is yet to develop so the dough needs some more kneading time.
There are some exceptions to this rule. Doughs with a very long rise and wet doughs do not normally form windows. Doughs with a very long rise do not need to form windows because they take a long time to rise. A good example is artisan bread dough and high hydration pizza dough.
Do not expect the dough to be ready after just ten minutes of kneading time. Most times you will have to do more than three five-minute sessions. Just keep in mind that you have to let your stand mixer rest for five minutes after every session.
Otherwise, your motor will wear out. Repeat the process until you see that your dough is ready.
How Tall is a KitchenAid Mixer? Click Here to find
The dough rising stage

When your dough has kneaded for long enough, you have to move to the dough rising stage. You can let the dough rise in the same bowl that you used in the stand mixer.
Simply wash it, dry it and coat it lightly with vegetable oil. I prefer using a cooking spray because it works best.
Shape the dough gently into a ball and place it inside the bowl. Cover the bowl with a plastic wrap or a damp tea towel. Place the bowl in a warm place and allow it to rise until it becomes double its original size. Alternatively, let it rise overnight in the fridge.
When the dough has risen, proceed with the rest of your recipe including shaping, proofing, and baking.
Step by step kneading dough in a stand mixer
- Place all the ingredients in the mixer ball, mix them, and check to see if the dough is too dry or too wet.
- Knead the dough that has the right level of moisture on the lowest setting of your stand mixer. Knead for five minutes, let the mixer rest for five minutes, and continue this process until windows have formed in the dough proving that the dough is ready.
- Shape the dough into a ball and place in a clean bowl that is lightly coated with vegetable oil. Let the dough rise until it doubles in size.
- Proceed with the rest of the recipe to shape, proof, and bake.
Tips for kneading dough in the stand mixer
- Check your mixer’s instruction manual
You have to make sure that your mixer can handle kneading dough. Not all mixers can. The motor in your stand mixer needs to have enough power to handle the dough. If it doesn’t, you may end up burning out your stand mixer.
- Always use the dough hook
A dough hook is that spiral or bent attachment in the mixer. Most mixers come with it. The dough hook is designed specifically for dough. It works the dough the same way you use your hands for kneading. Do not fail to attach it before turning on the mixer.
- Don’t walk away from your mixer.
If you are using your stand mixer to knead, it is important that you keep a close eye on it. Some mixers do not have suction cup feet and as a result they may ‘walk’ while kneading. This mostly happens when you are kneading thick dough. Does that are soft may not cause your stand mixer to travel as much.
If your mixer does this, you will have to keep moving it to make sure it does not fall off the counter. Do not leave the kitchen.
- Avoid over kneading
Over kneading happens when you overwork the dough. This can happen easily when you are using a stand mixer. When the dough is over kneaded, it is hard to flatten and the end result will have a hard crust and a crumbly interior.
Always keep checking the progress of the dough to ensure it does not over knead. This is the only way you can get perfect dough every time.